Conveyor System Design: Answer These 7 Questions First!

Design a Conveyor System that Fits Your Space, Inventory & Operational Goals
Investing in a conveyor line isn’t just another capital expense—it’s a strategic decision that can accelerate throughput, protect product, and free up valuable labor. To capture those gains, the design must be tailored to your exact operation, from ceiling height and pick zones to carton profiles and growth forecasts.
When the discovery phase is rushed—or skipped—systems end up fighting the building instead of flowing with it, leading to premature wear, persistent jams, and lost production time.
That’s why our automation experts start every project with seven foundational questions. In the following sections, we’ll share those questions and the “why” behind each one, so you can approach your next conveyor project with clarity and confidence—and be sure the solution you choose will keep pace with tomorrow’s demands, not just today’s.
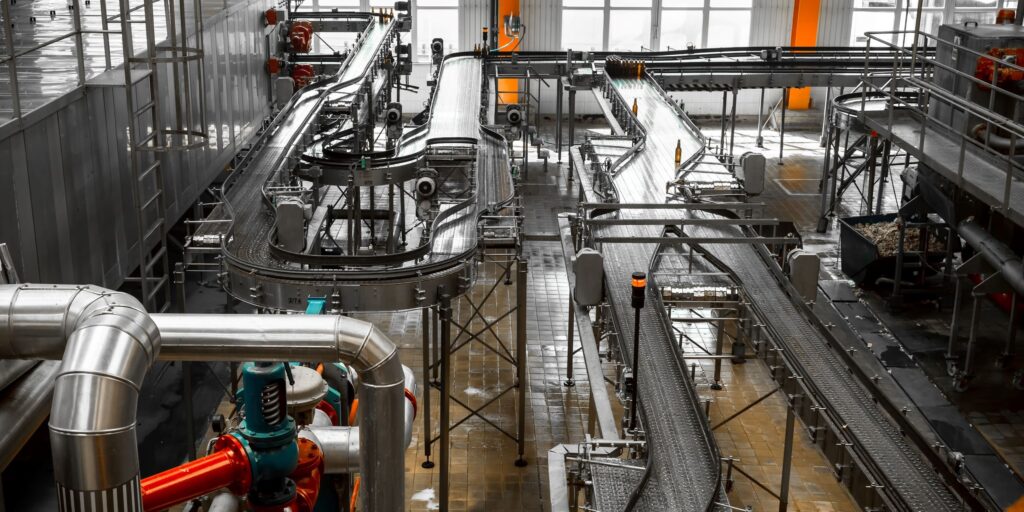
1. What Are You Moving?
The first step in the conveyor design process is determining what will be riding the line. Dimensions, weight, and shape dictate nearly every downstream decision.
Let’s Gather Data
- Dimensions & weight range – What are the smallest and largest SKUs you’ll convey (L × W × H, ounces to pounds)?
- Package style – Are you handling taped cartons, open totes, polybags, or loose parts?
- Material & Fragility – Will contents crush, leak, or shift? Do bottoms sag or bow?
- Shape Irregularities – Any protruding handles, rounded edges, or uneven bottoms that could snag at transfers?
Fast-Track Your Data Collection
Valuable tools can be applied to speed up the data gathering process and ensure accuracy.
During the design phase:
- Portable or cart-mounted DWS (dimension-weigh-scan) stations evaluate a portion of your SKUs (often your top 80% by velocity) to capture actual cube and weight data. That file provides sizing calculations and simulation models for your new conveyor system.
- Hand-held 3-D scanners or light curtains let engineers profile odd or flexible items, so transfer points and guide rails are spec’d to the worst-case geometry.
- For weight verification, a test-stand checkweigher (basically a benchtop version of the in-line unit) confirms that the heaviest SKUs stay within the chosen roller class or belt pull limits.
- A temporary barcode/RFID tunnel can be mocked up with tripods to validate read rates and ideal gap lengths.
Once the conveyor is live:
The full-scale versions of those same devices can be deployed to the line: the DWS drives carton induction logic and cartonization rules, the checkweigher flags mispicks, the vision scanner protects high-speed merges, and the tunnel feeds your WMS in real time.
So think of the portable audit gear as the “tape measure and scale” of modern conveyor design—giving us hard numbers up front, while their in-line counterparts keep the system honest every shift after go-live.
Why It Matters
Exact dimensional data lets engineers:
- Right-size every component – from drive horsepower to bearing class – eliminating hidden capacity ceilings.
- Select the right conveying surface – roller vs. belt vs. modular plastic – based on real contact area and stability.
- Prevent jams and product damage – set transfer gaps, guardrails, and photo-eye spacing to the true extremes.
If the product profile is wrong, the system will fight your operation every shift. If you get it right, your line will flow today and scale tomorrow without a hitch.
2. What Is Your Desired Throughput?
Defining how many units per hour (UPH) you need to move sets the pace for motor sizing, belt speed, and even the shape of the entire line. Don’t rely on averages—pull last year’s hour-by-hour order data from your WMS or time-study logs to expose the true peaks that test a system’s limits.
Rule of thumb: Conveyor sortation lines typically handle 3,000 – 27,000 cartons per hour (varies by technology and carton mix).
Steady vs. Variable Flow
- Predictable, level throughput lets you right-size drives and keep accumulation zones short, minimizing energy use and component wear.
- Shift- or season-based surges (think Black Friday or end-of-quarter pushes) call for extra buffer conveyors, surge-rated VFD drives, or even hybrid layouts that let zero-pressure rollers absorb spikes better than fixed-speed belt curves.
A Quick Engineering Check
The baseline formula for a straight conveyor speed is calculated as:
S=(LP+ZL)×PPM
- S = Speed (fpm)
- LP = Length of product (ft)
- ZL = Length of zone (gap between products)
- PPM – Products per minute
Example:
- Length of product (LP): 24 in = 2 ft
- Zone length (ZL): 1 ft (trailing edge to front edge between boxes)
- Desired rate: 60 ppm (3,600 uph-units per hour)
Result: (2ft+1ft)×60ppm=180fpm
That 180 fpm target tells you the minimum belt or roller surface speed and whether you need higher-torque motors to handle frequent start/stop cycles under load.
You also need to consider accumulation conveyors and time. Will products be backed up between stations? Are downstream processes (like sortation or scanning) faster or slower than upstream ones? Throughput bottlenecks often show up at transfer points, not on straight runs.
Another hidden factor is start/stop frequency. If your conveyor stops and starts constantly (especially under load), you’ll need to spec motors with higher torque and duty cycles. This will impact your electrical setup and overall wear on components.
Get these numbers right, and the system cruises through peak season without a ripple.
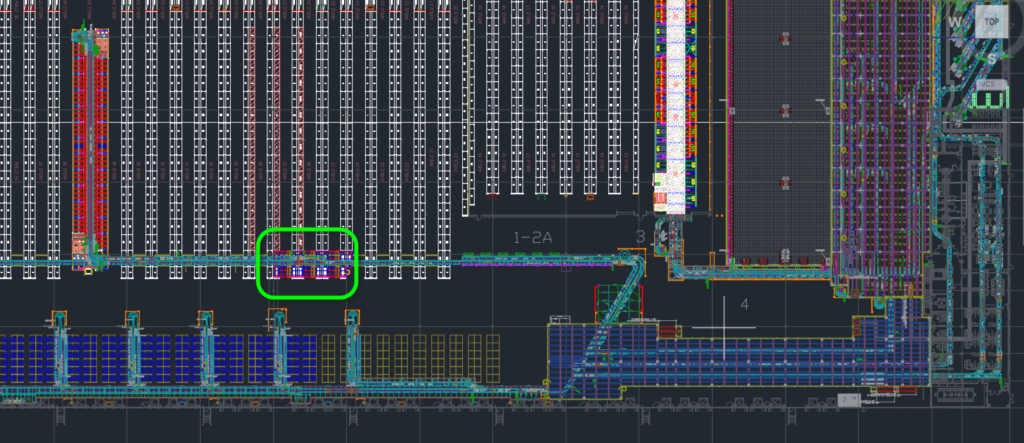
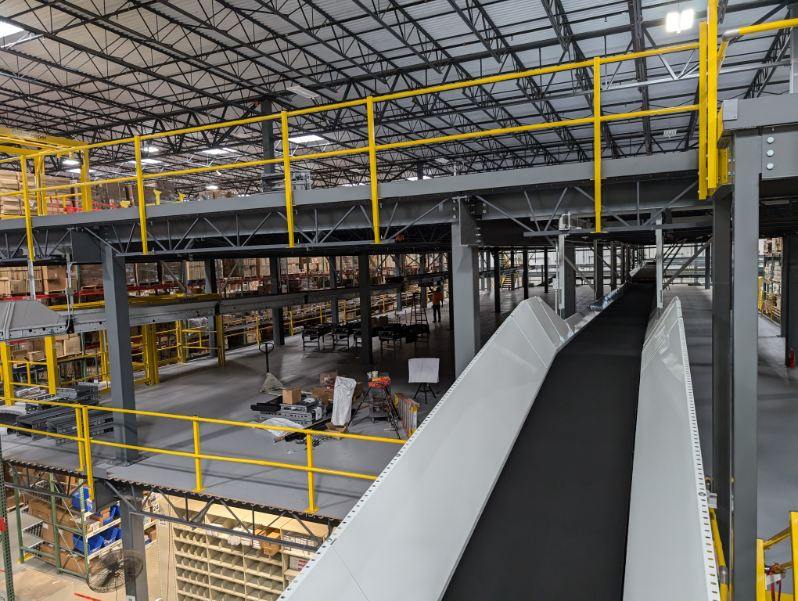
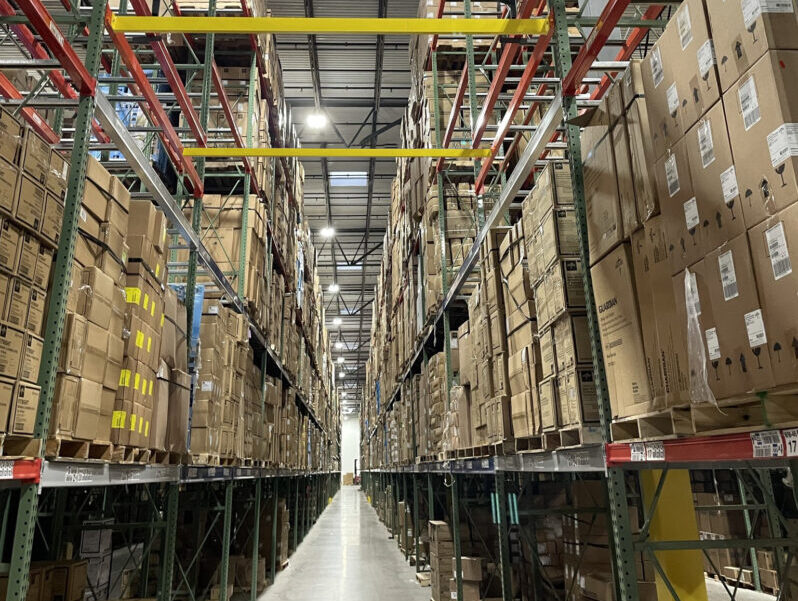
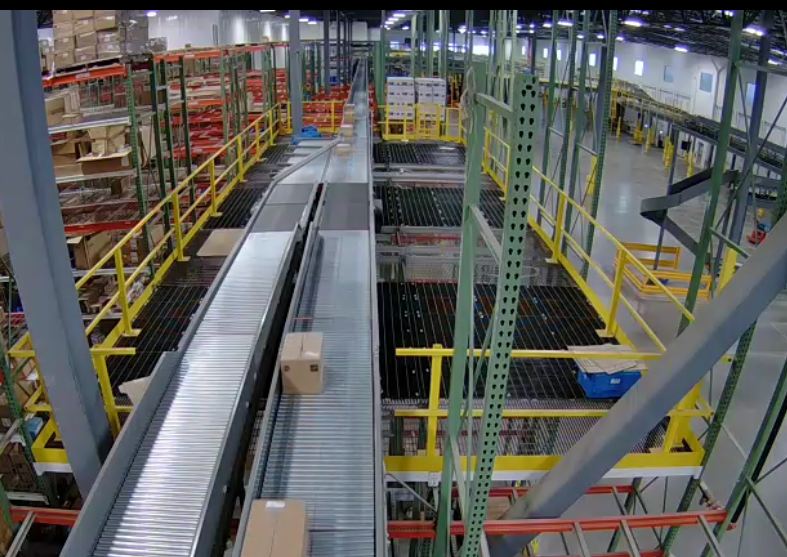
3. What Is the Layout and Flow of Your Facility?
The physical layout of your space — aisles, corners, elevation changes, and clearances — will define your conveyor system.
Map Your Boundaries
Begin with the big picture. Identify where the product enters and exits the system, then define what needs to happen in between. This will determine conveyor length, path, and connection points between processes like picking, packing, or shipping.
Next, draw the shortest, most logical spine between those points. Every unnecessary detour adds complexity, cost, and maintenance risk.
Flag all fixed infrastructure:
- Obstacles: Columns, dock doors, fire exits, mezzanines, low beams, and sprinkler lines
- Clearances: Overhead HVAC or lighting that may interfere with vertical runs
- People zones: Areas like packing and quality assurance stations, or pallet-building areas, need ample, clear aisle space to meet regulatory requirements.
Even early on, these boundaries tell you where conveyor is possible and where it’s not worth the squeeze.
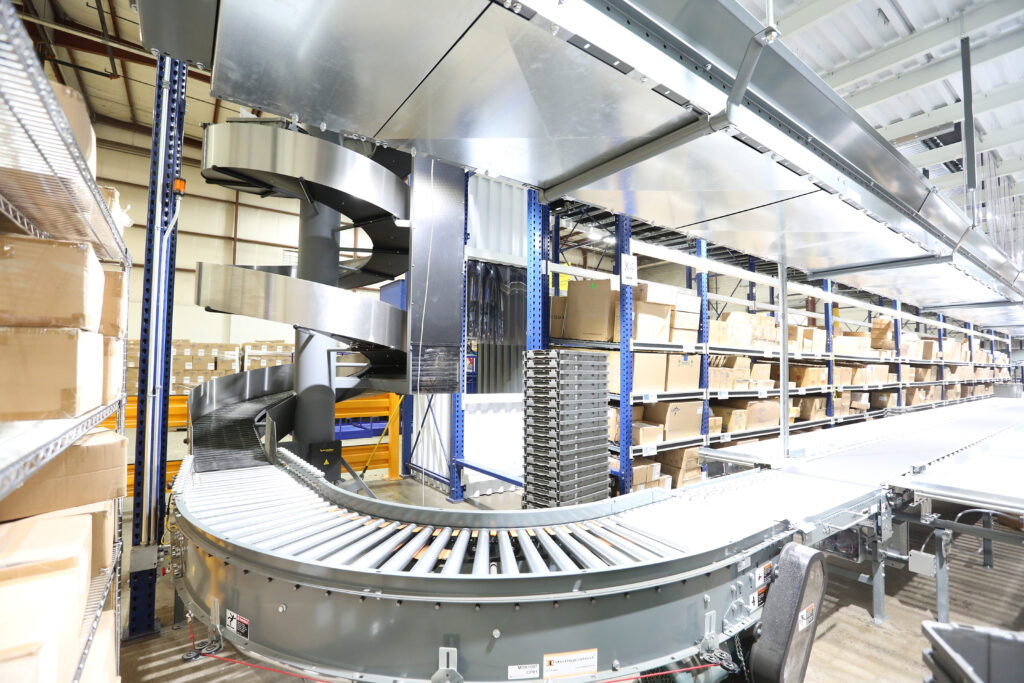
Account for Elevation Changes
Moving product up or down? Choose your incline method based on grade, product type, and available space:
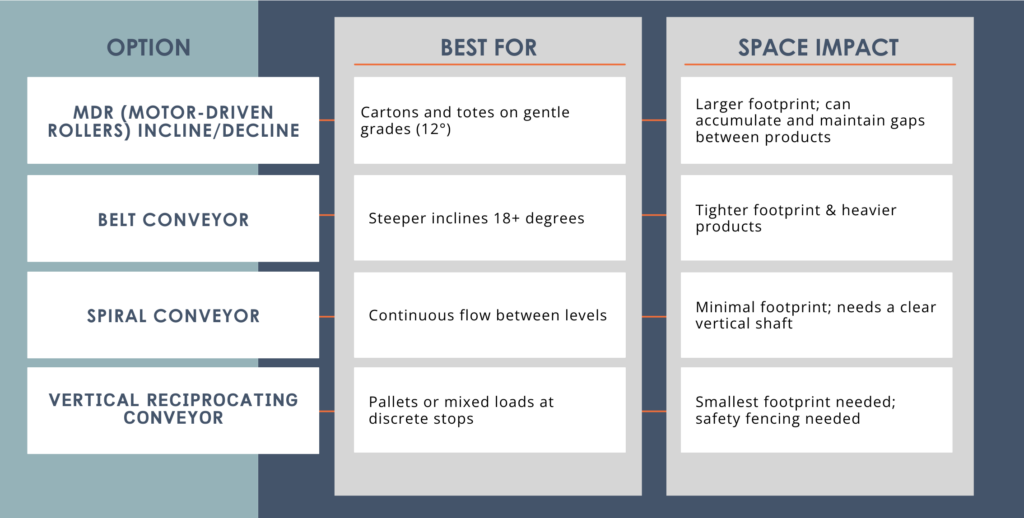
Plot Turns, Merges, and Crossings
Turns and intersections are performance decisions.
- Curves (30°, 45°, or 90°) require extra space. Always measure clearance from the inside rail, not just the centerline.
- Merges and diverters (like pushers or sliding shoe sorters) demand straight “run-in” and “run-out” sections for smooth gapping.
- Cross-aisles are common bottlenecks. Install lift gates to maintain foot traffic without compromising conveyor flow.
Smart space-saving plays we like to deploy:
- Overhead runs above pick modules or aisles (with at least 10 ft of headroom)
- Under-mezz “subway” conveyors to preserve open work zones
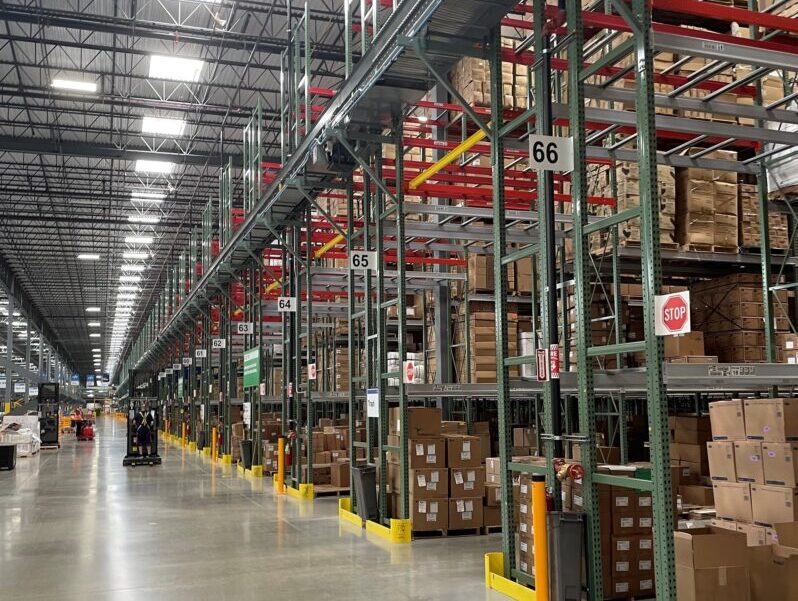
- In-rack conveyors running through racking systems
 |
 |
 |
|
Raised Conveyor |
Under Mezzanine |
In-Rack Conveyor |
Define Your Material Flow Logic
Is the system simply point A to B, or does it need to accommodate dynamic routing?
Map out:
- Pause points for scanning, weighing, or labeling
- Buffers or accumulation zones before slower machines
- Return paths for empty totes or dunnage
The clearer your flow logic, the easier it is to spec the right technology—and future-proof the system against operational surprises.
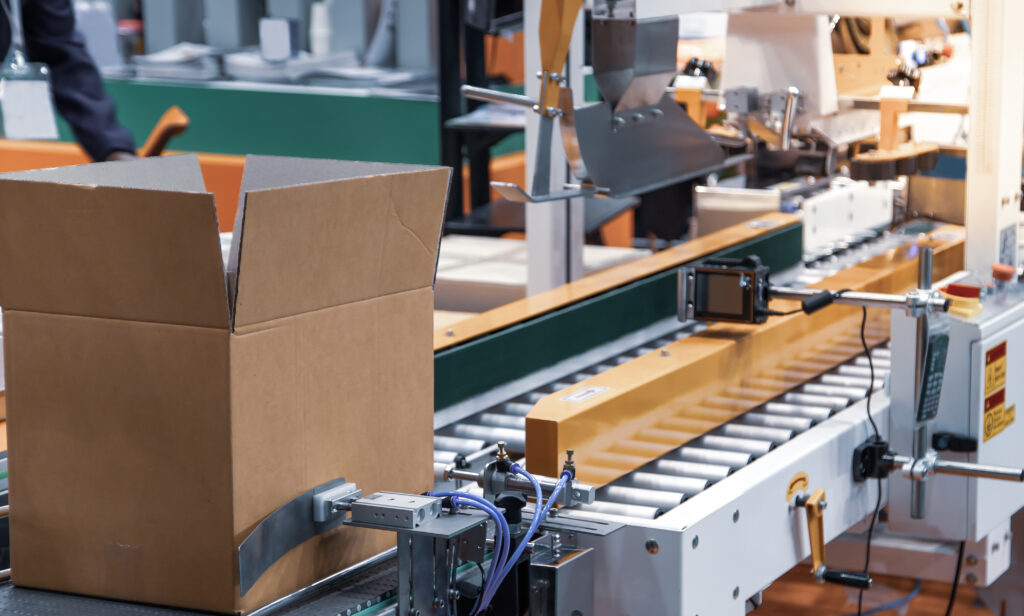
4. How Will the System Be Used?
Designing a conveyor without knowing how it fits into your workflow is like buying a tool without knowing what job it will do. The system’s function should shape everything from conveyor type to controls.
Start by identifying the core application:
- Is the conveyor part of order picking, packing, or shipping?
- Will it support sortation, accumulation, or automated scanning/labeling?
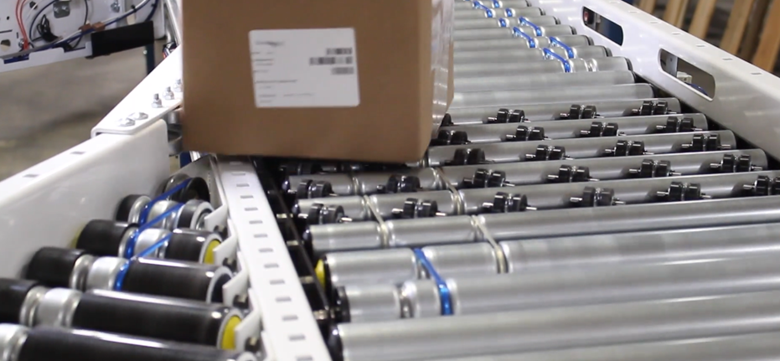
- Does it need to interface with WMS, robots, or automated storage retrieval systems (ASRS)?
Bar Code Scanner Along Conveyor Line
Each use case demands different features. For example:
- Picking and packing stations need conveyors at ergonomic working height, with zone control for safe manual interaction.
- Sortation systems require faster conveyors with precise tracking, barcode scanning, and diverters like pop-up wheels or sliding shoes.
- Accumulation zones need zero-pressure or minimum-pressure rollers, allowing product to queue without damage.
- Integration with automation often requires conveyors with sensors, programmable logic controllers (PLCs), and communication protocols like Ethernet/IP or Modbus to sync with warehouse software or robotics.
If you’re planning warehouse automation, it’s important to design equipment that can be controlled, maintained, and stopped safely within an automated environment.
5. How Much Flexibility or Scalability Is Required?
Warehouses change, sometimes faster than expected. New SKUs, more zones, a shift toward automation—the best conveyor systems are built to evolve.
That’s why we usually ask upfront: How likely will your layout, volume, or workflow shift in the next 3 to 5 years?
If the answer is “very likely,” your design should reflect it.
Plan for what’s next without overbuilding today.
Conveyor design and technology have advanced to offer features that more easily accommodate change than ever before. Such technology includes:
- Quick-connect conveyor sections that can be added, removed, or rerouted without cutting steel
- Drop-in modules like diverters or accumulation zones that slot into your existing line
- Plug-and-play controls that scale with minimal wiring changes as your systems
Conveyor Divert Module
Here are some practical examples you could deploy:
- Adding a new divert module over a weekend, without impacting Monday shipping
- Swapping fixed-speed motors for variable-speed drives as order volume increased
- Extending a conveyor line through a new mezzanine buildout without major rework
What makes a system future-ready?
Look for these flexibility enablers:
- Standardized frame sections with adjustable supports
- Expandable accumulation zones for seasonal spikes
- Adjustable side guides and railings to accommodate new product sizes
- Integration-ready I/O that connects to WMS, ASRS, or AMRs down the road
The right foundation means your conveyor doesn’t limit growth—it supports it.
6. What Are the Environmental Conditions?
Environmental factors can quietly shorten the life of a conveyor system if not accounted for in the design phase. Temperature, humidity, dust, moisture, and static exposure affect how your system performs—and how often it breaks down.
Cold storage environments introduce a unique set of challenges. Below-freezing temps can cause belts or rollers to stiffen, lubricants to seize, and condensation to form inside motor housings. We select components rated specifically for subzero conditions: sealed bearings, cold-weather lubricants, heated enclosures, and materials that remain flexible even in freezer-grade spaces.
High-humidity or washdown areas, such as food, beverage, or pharmaceutical facilities, demand corrosion resistance and sanitary construction. In these settings, your conveyor will likely have stainless steel frames, water-resistant motors, and food-grade components that can withstand routine cleaning and align with FDA and USDA requirements.
Dusty, oily, or debris-heavy facilities create a different risk profile. Fine dust can infiltrate bearings and sensors, while oily product surfaces can reduce grip and affect tracking. We account for these conditions with sealed enclosures, debris-tolerant hardware, and textured conveying surfaces like cleated modular plastic chain or rough-top rollers that maintain control even in slick environments.
Dry air environments can create static buildup, especially when conveying plastic containers or lightweight materials. Apex may recommend static-dissipative materials, grounding points, or ionizing bars to reduce discharge risk and protect sensitive electronics in these cases.
7. What’s Your Budget and Timeline?
Budget and timeline shape the system you’ll live with for the next five to ten years. Whether you’re planning for long-term automation or solving a short-term bottleneck for peak efficiency, the decisions you make here will define your system’s performance, flexibility, and total cost of ownership.
It starts with knowing what you’re optimizing for. Are you investing in a fully integrated, future-ready system? Or do you need something reliable and modular?
Custom-engineered systems give you the best long-term fit, with tailored layouts, smarter controls, and built-in flexibility for future growth. However, they require more lead time, typically 8 to 20 weeks from design to installation. That includes discovery, floorplan mapping, component sourcing, controls programming, and coordination with other vendors.
Preconfigured or modular systems can move faster, sometimes in as little as 3 to 4 weeks. Still, they may come with trade-offs. You might sacrifice layout precision, integration capabilities, or advanced features like sortation or smart accumulation. That’s not always a bad thing. If you’re bridging a gap or phasing in automation gradually, modular systems often provide the breathing room to move quickly without locking you into a rigid setup.
Here’s how the two approaches typically compare:
- Custom-engineered systems: longer lead time, higher upfront cost, but optimized for performance, integration, and scalability
- Modular systems: quicker to install, lower initial investment, but with more limits on layout flexibility and automation readiness
Cost-wise, the materials and system complexity scale fast. Stainless steel frames, zero-pressure accumulation, variable-speed motors, advanced sensors, and system-wide controls all add upfront cost—but they usually return that investment in uptime, labor savings, and long-term adaptability. On the flip side, going too lean can lead to recurring maintenance costs or even full system replacements in just a few years.
You’ll also want to factor in install timing and disruption. If your facility runs 24/7, phased installation during off-hours or weekends may be the only option. That requires close coordination between your internal team and the installation crew—something Apex handles with precision.
Need Help Getting It Right?
A conveyor system is a core part of how your facility runs. When it’s built to match your space, your products, and your future growth, it becomes an asset. When it’s not, it becomes a problem.
That’s why we at Apex take the time to ask the right questions up front. Our automation experts work closely with your team to design a conveyor system that fits—not just physically, but operationally.
From initial planning to installation, we’re here to build systems that do the job today and adapt for tomorrow. Let’s get it right, together.
Keep Learning
- Conveyor System Types & Functions – A concise overview of the most common conveyor formats, where they excel, and how to spot the right fit for your flow.
- Conveyor Glossary – Plain-language definitions of every key term so you can talk specs with confidence
