How to Install a Custom Pallet Rack Frame Repair Kit

Follow These Tips to Install a Custom Pallet Rack Repair Kit
If you’re familiar with pallet racking systems and warehousing operations, you understand the significance of maintaining a safe and efficient storage environment. Pallet rack damage resulting from forklift strikes or other unfortunate events can lower its load capacity and, more gravely, impact the system’s stability. However, restoring the rack may be more manageable than you thought, thanks to custom pallet rack repair kits. Pallet rack repair kits are often used for upright dents, twisting, crimping, punctures, missing braces, plus strut and footplate damage. 
Advantages of Pallet Rack Repair Kits
- Cost-effective – shorter lead times, minimal labor
- Minimally disruptive – no need to offload full rack
- Requires less space for material staging
- Easy to add rack guards & reinforcements preventing future damage
- Larger baseplates create additional anchor points in the slab
- Typically not disruptive to in-rack sprinklers & electrical
This guide walks you through each step of the installation process, ensuring that you can effectively repair damaged racks with ease and precision.
NOTE: Repair kits must be installed by a repair-specific trained Apex crew or certified maintenance team.
Pallet Rack Repair Step-by-Step Guide
Before you begin your rack repair, be sure your team is wearing proper personal protective equipment, as outlined in your facility’s safety guidelines.
| PPE Equipment | Tools Needed |
|
|
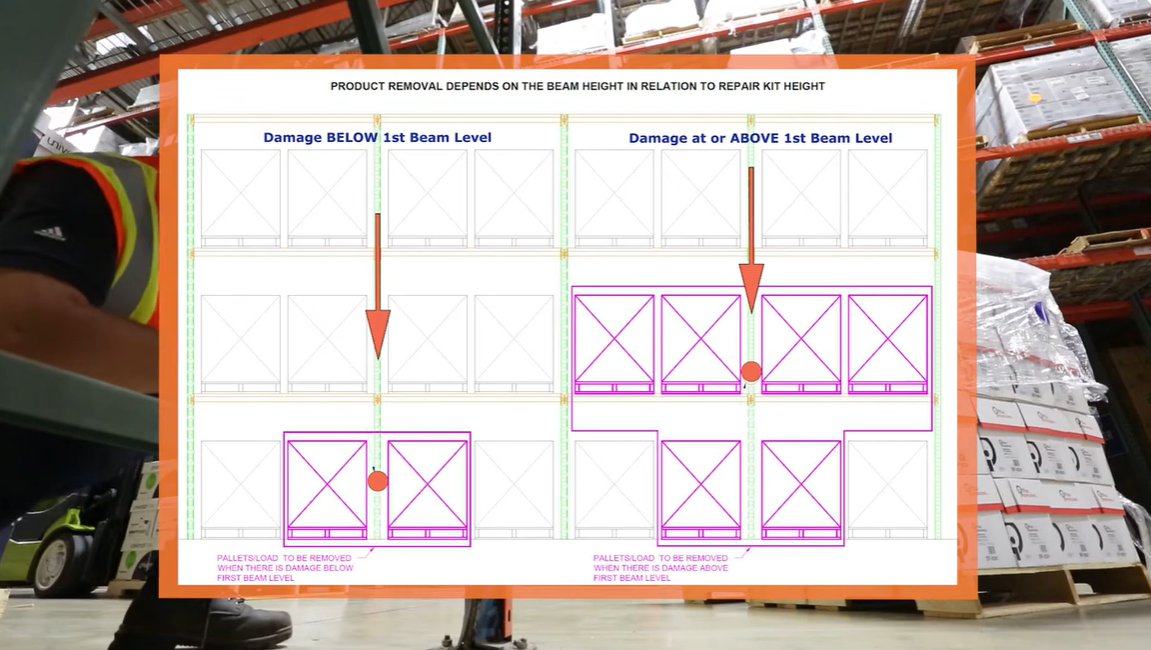
- Offload pallets from the damaged rack bay.
a. If the damaged section is below the first beam level – remove the floor-level pallets on either side of the damaged frame.
b. If the damaged section is above the first beam level, you must remove all pallets on the first level of both bays adjacent to the damaged frame.
- Check that you have all the necessary tools to complete the installation and confirm that you have the necessary repair kit and hardware.
- Position the hardware so that it is easily accessible.
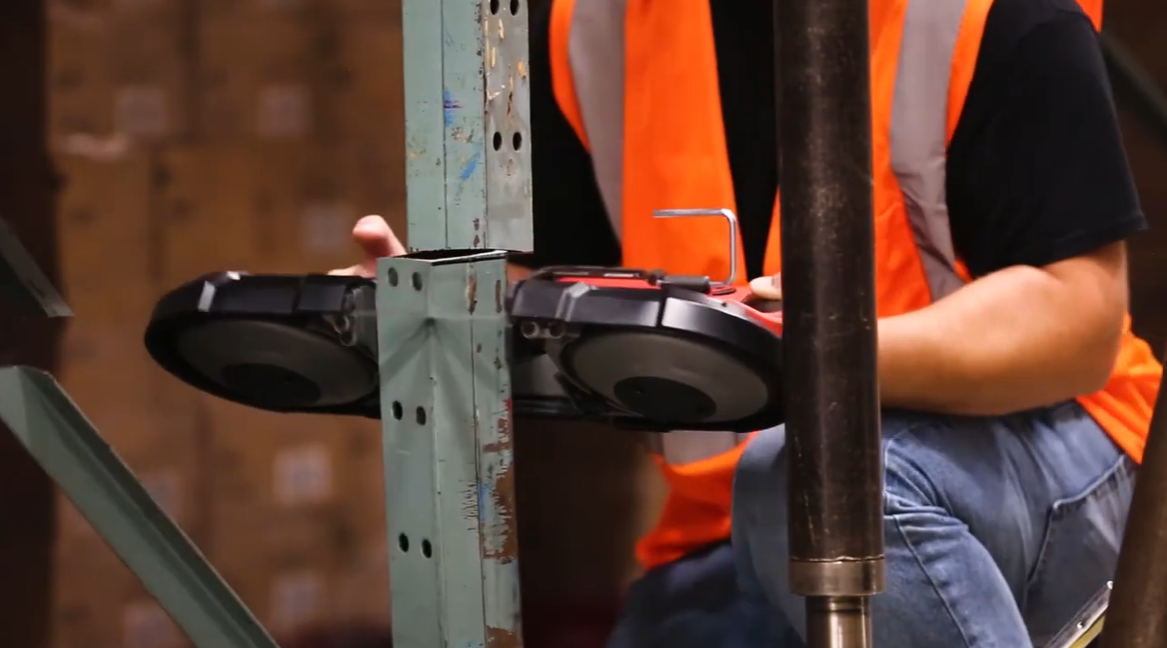
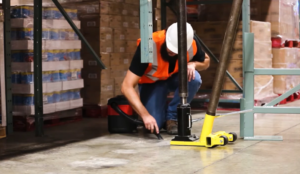
Jack Installation
- Position the jack at the front of the column –You may need to raise the jack head until the pins fit into the punching on the column.
- Slide the rear pins through the holes on the back of the jack head.
- The cut height of the damaged frame should be obtained from the repair kit and transferred to the undamaged frame of the exact type. Once this is done, mark the damaged frame for cutting.
Cutting Damaged Components
- Remove the nut on the front anchor. Then, jack up the column approximately ⅛” to ¼.”
- Cut the anchor with a sawzall, and cut out
 the damaged components with a portable band saw. Start with the rear strut connections and move to the front column.
 - Make sure to follow the pre-marked lines on the components to allow for safe installation.
- Take your time, and don’t rush through this process. An uneven cut may render the repair kit useless at this location.
- Remove debris and pound remaining anchors into the ground to prepare for repair kit installation.
Pallet Rack Repair Kit Installation
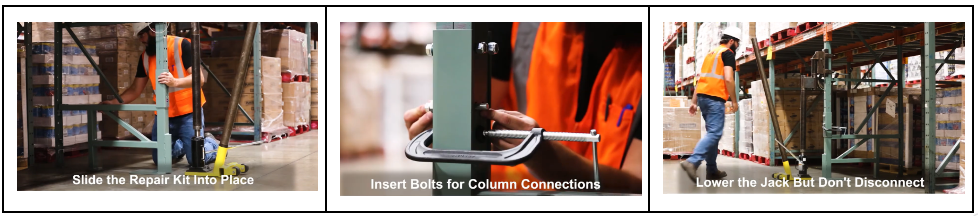
- Slide the repair kit into place and clamp it to the existing column. Remember that the existing column will not yet rest on the repair kit’s platform.
- Insert bolts for the front and rear column connections and hand tighten. Depending on how well the slots and existing column punching line up, you may need to use the jack to insert the bolts correctly.
- Lower the jack so that the existing column now rests on the platform of the repair kit. Do not disconnect the jack from the column yet.
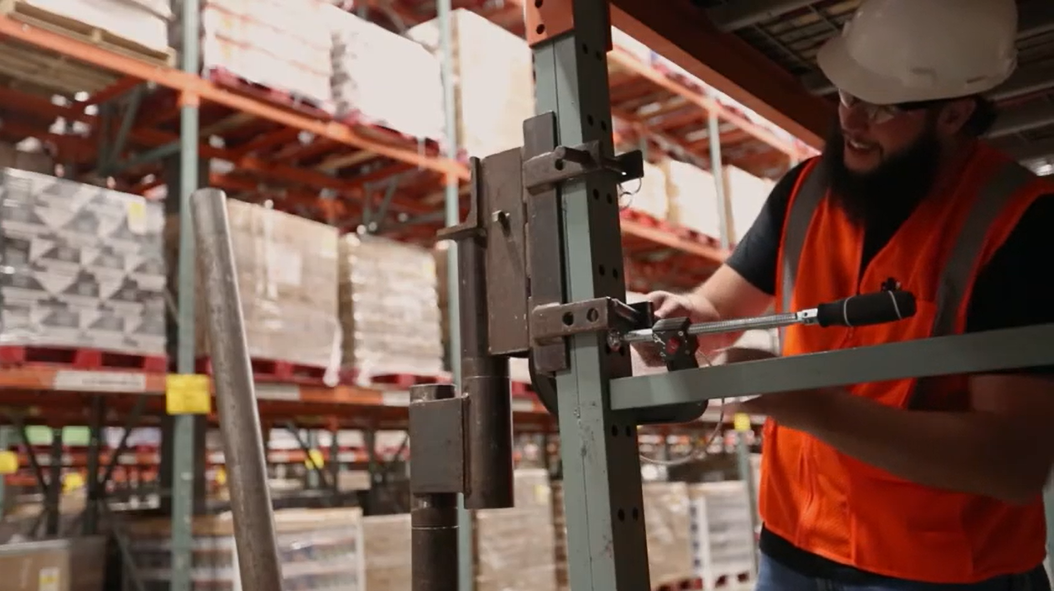
Tightening & Anchoring

- Use an impact wrench to tighten bolts, drill anchor holes at a slight angle, and hammer anchors into place.
- Tighten all carriage bolt connections using an impact wrench –follow a “star” pattern to tighten front bolts.
- Ensure that the bay spacing on either side of the kit is correct, and make any necessary adjustments before starting to attach struts and anchoring.
- Slide the diagonal strut connection bracket into place and mark connection points on the repair kit for installation.
- Drill the anchor holes using an impact drill. Install anchors at a slight angle due to the bottom horizontal strut on the kit. Ensure the hole is deep enough to fit as much of the anchor as possible to adhere to the embedment standards. There should be (2) anchors for the front column and (1) for the rear.
Clean Up & Final Checks
- Vacuum any residual debris to prevent further dispersion when hammering the anchors into place.
- Hammer anchors into place –torque the anchors to spec using an impact wrench.
- Again, vacuum any remaining debris.
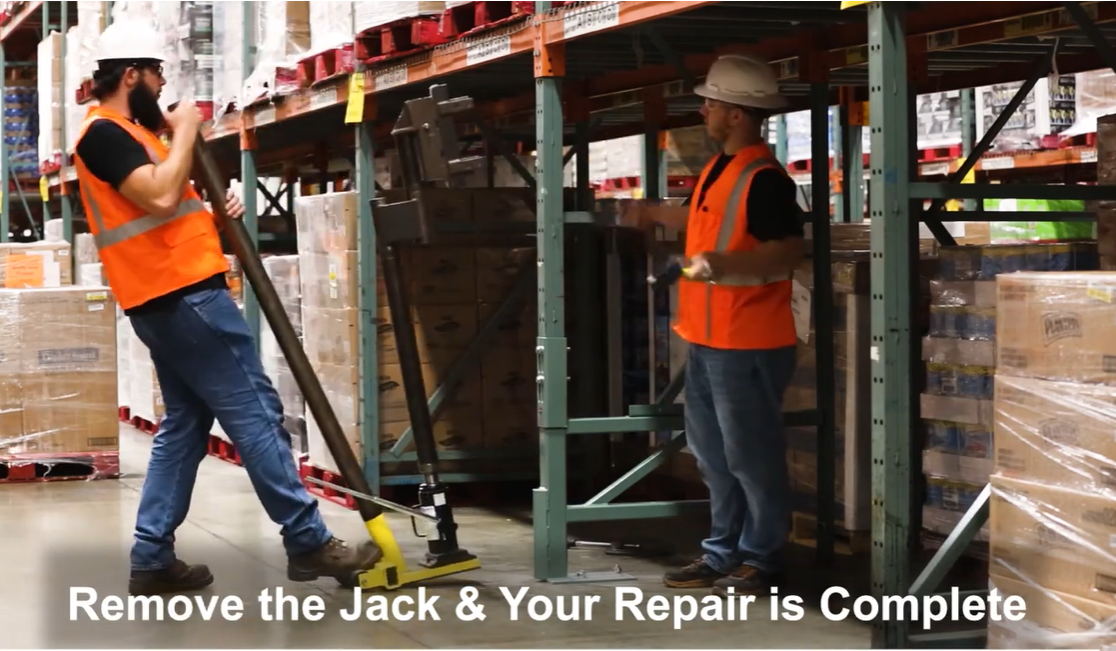
- Remove the clamp and carefully slide the jack out of position.
- Confirm all procedures are followed, ensuring the kit is securely in place.
Contact Apex for Expert Assistance
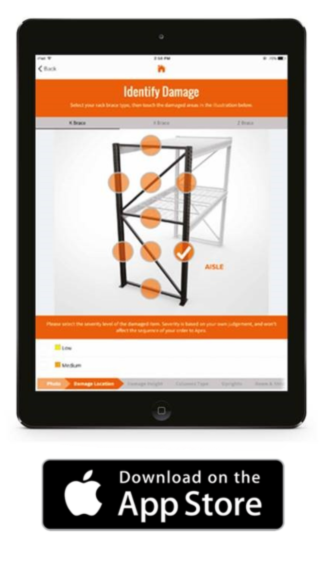 When damage affects your pallet racking, prompt action is essential to prevent rust or decay of the components and create a critical safety hazard. Apex gives you two options: call the Apex PROs for a complete safety inspection and repair, or download the Free Apex Rack Repair App and conduct a DIY inspection.
With the Apex PROs, you can trust in a seamless inspection and repair process that prioritizes the safety and function of your storage racking with minimal disruption to your ongoing operations. Schedule a pallet rack inspection or repair.
The Rack Repair app provides a user-friendly interface with pre-loaded specifications to effortlessly capture all pertinent information required for a thorough damage assessment. Upload your findings, and the Apex PROs will give an expert evaluation and promptly provide a cost-effective repair solution if needed.
Experience the convenience of the Apex Rack Repair App today – FREE on the App Store. Either way you choose, the Apex team has you covered!
